
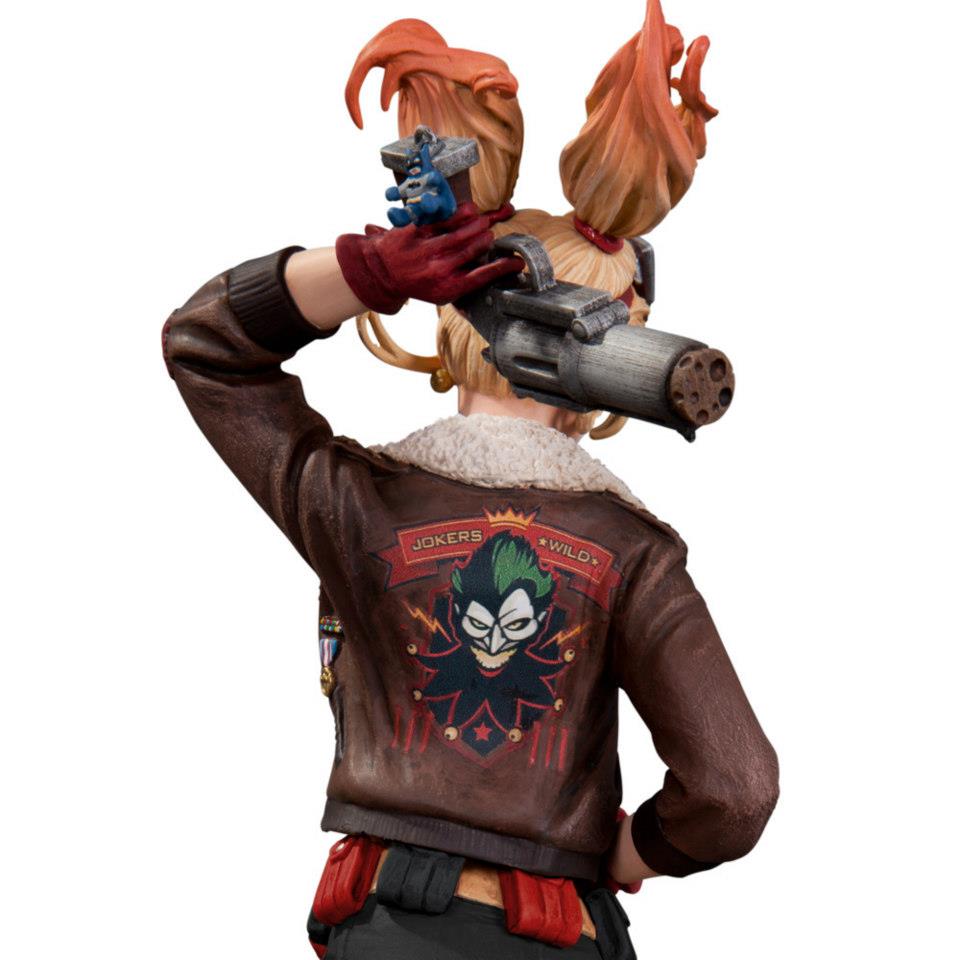
Today I’m going to share with you Ninjas how to make Harley Quinn’s ‘Bombshell’ bomber jacket. This tutorial is basically how I make most of my patches for cosplay!
CLICK TO ENLARGE
Materials Needed:
- Bomber Jacket (You can make your own or buy one that resembles hers)
- White Fabric (I prefer matte white spandex, but white cotton will also work)
- Double-Sided Adhesive, like ‘Fuse’N Stick’ or ‘Wunder Under’ (this is used for applique – it is a heat-activated adhesive that comes attached to paper in large sheets. You can get it at any hobby store.)
- Pencils, pens, scissors
- Sharpies in the colors you’ll need (for this: black, red, yellow, and green)
- An iron and ironing board
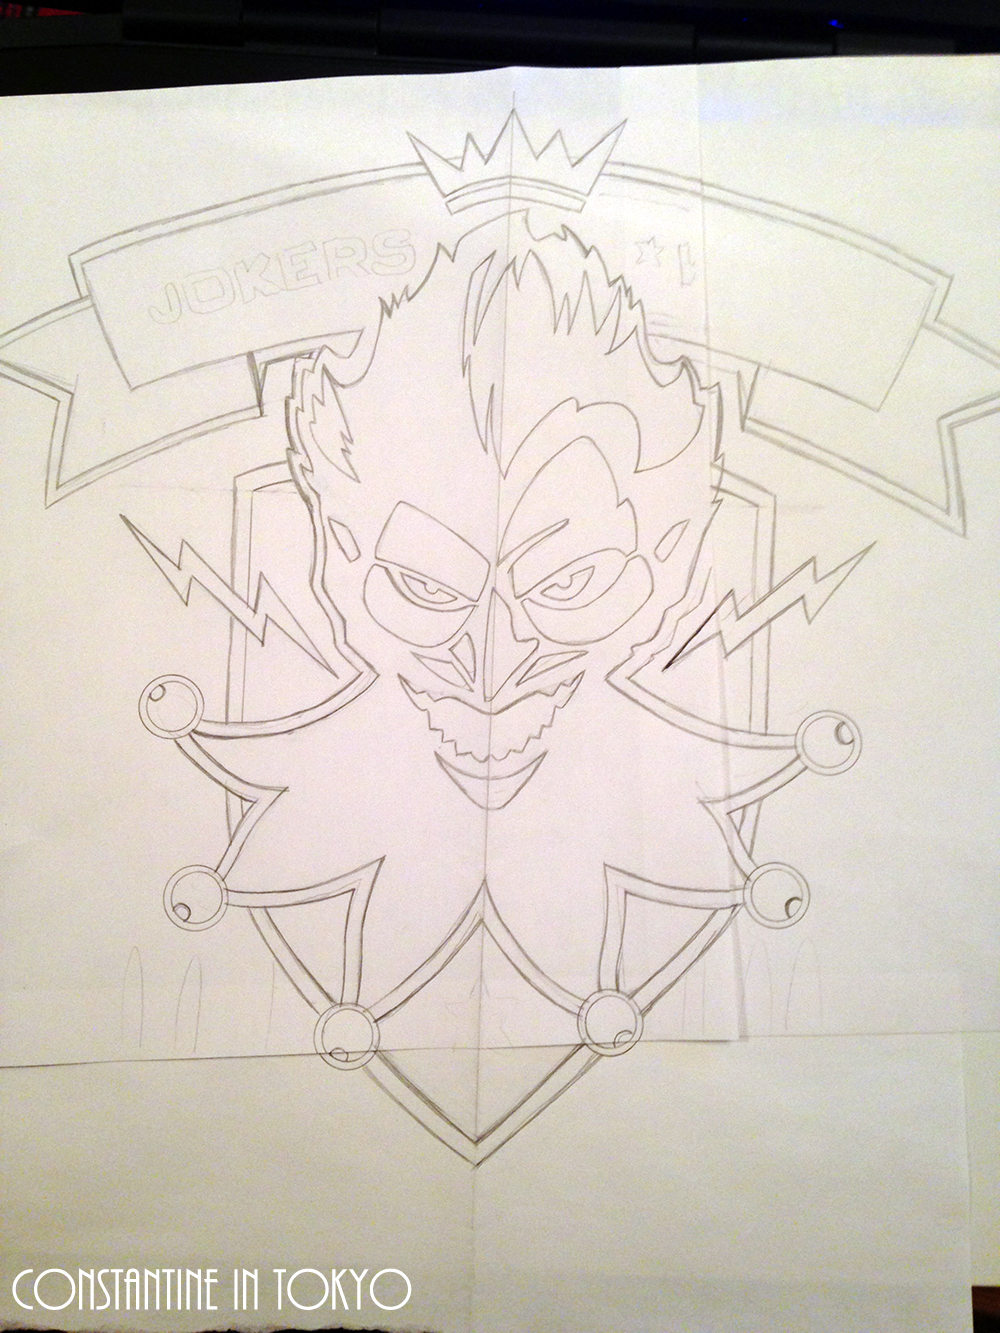
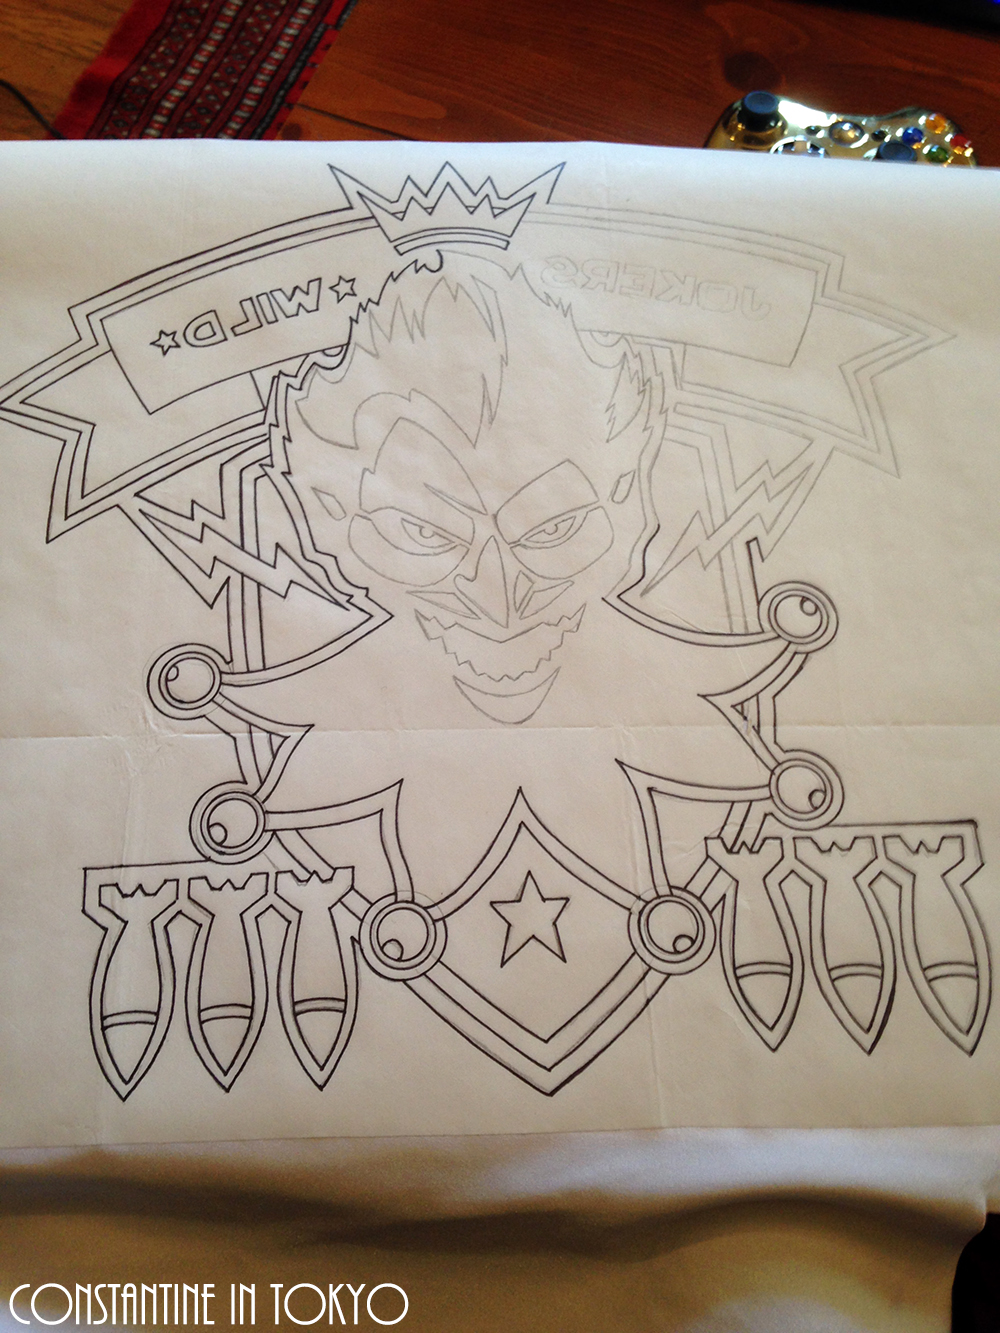
Step 1: Draw your design on paper. I sketched her jacket design onto regular paper — the size I wanted the patch was larger that standard 8″ x 10″ computer paper, so I just taped a few pieces together to have a large enough sheet.
CLICK TO ENLARGE
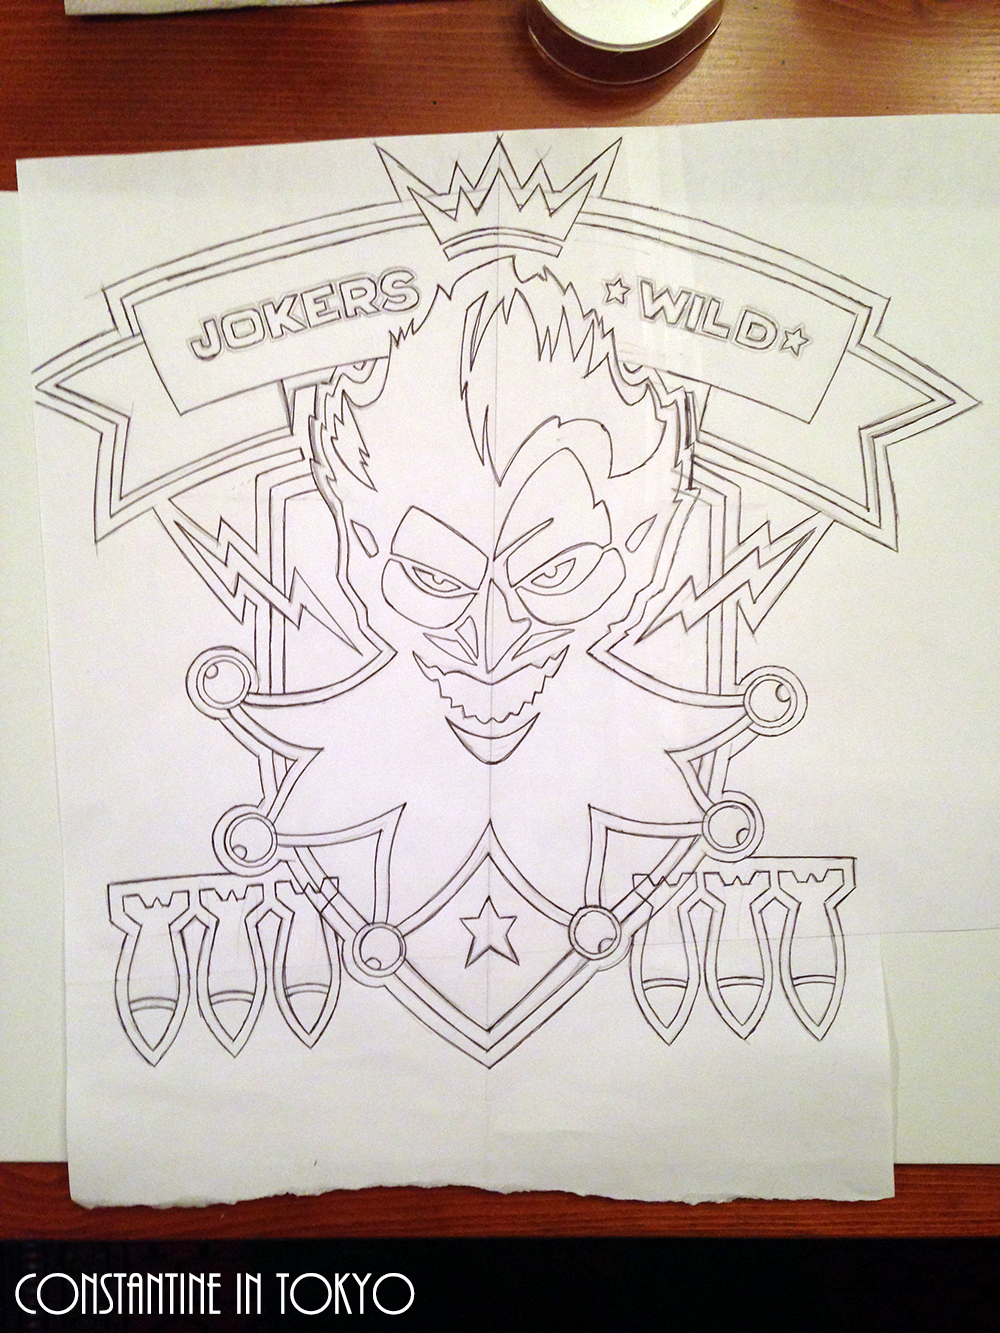
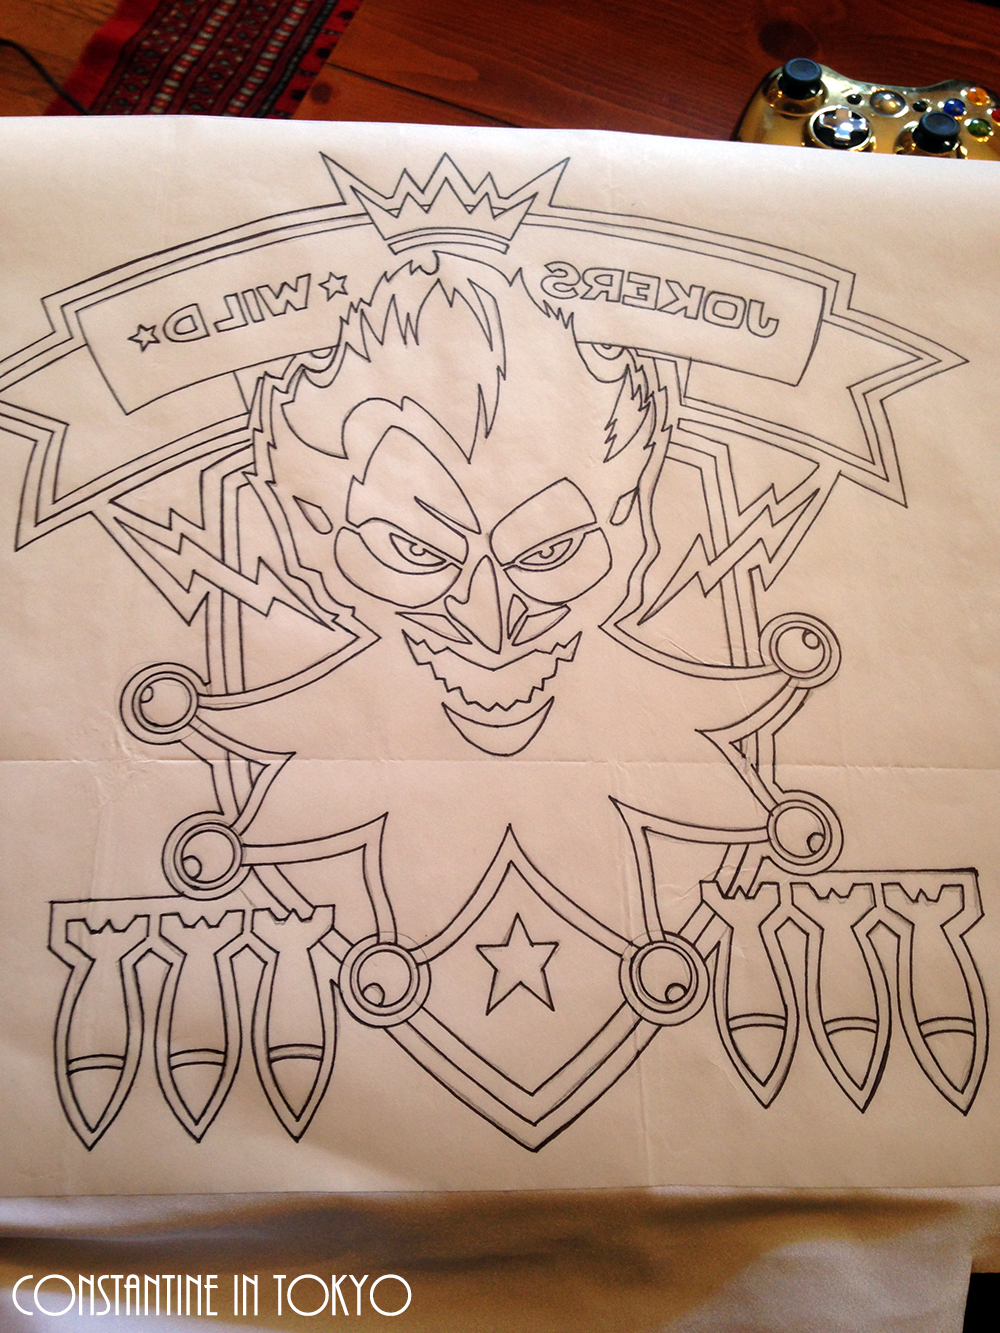
Step 2: I then traced over the pencil with a black pen to darken the lines. As you can see, I added a bit more detail into my design with the 6 bombs along the bottom – this is more similar to actual bomber jackets from the 1940s!
CLICK TO ENLARGE
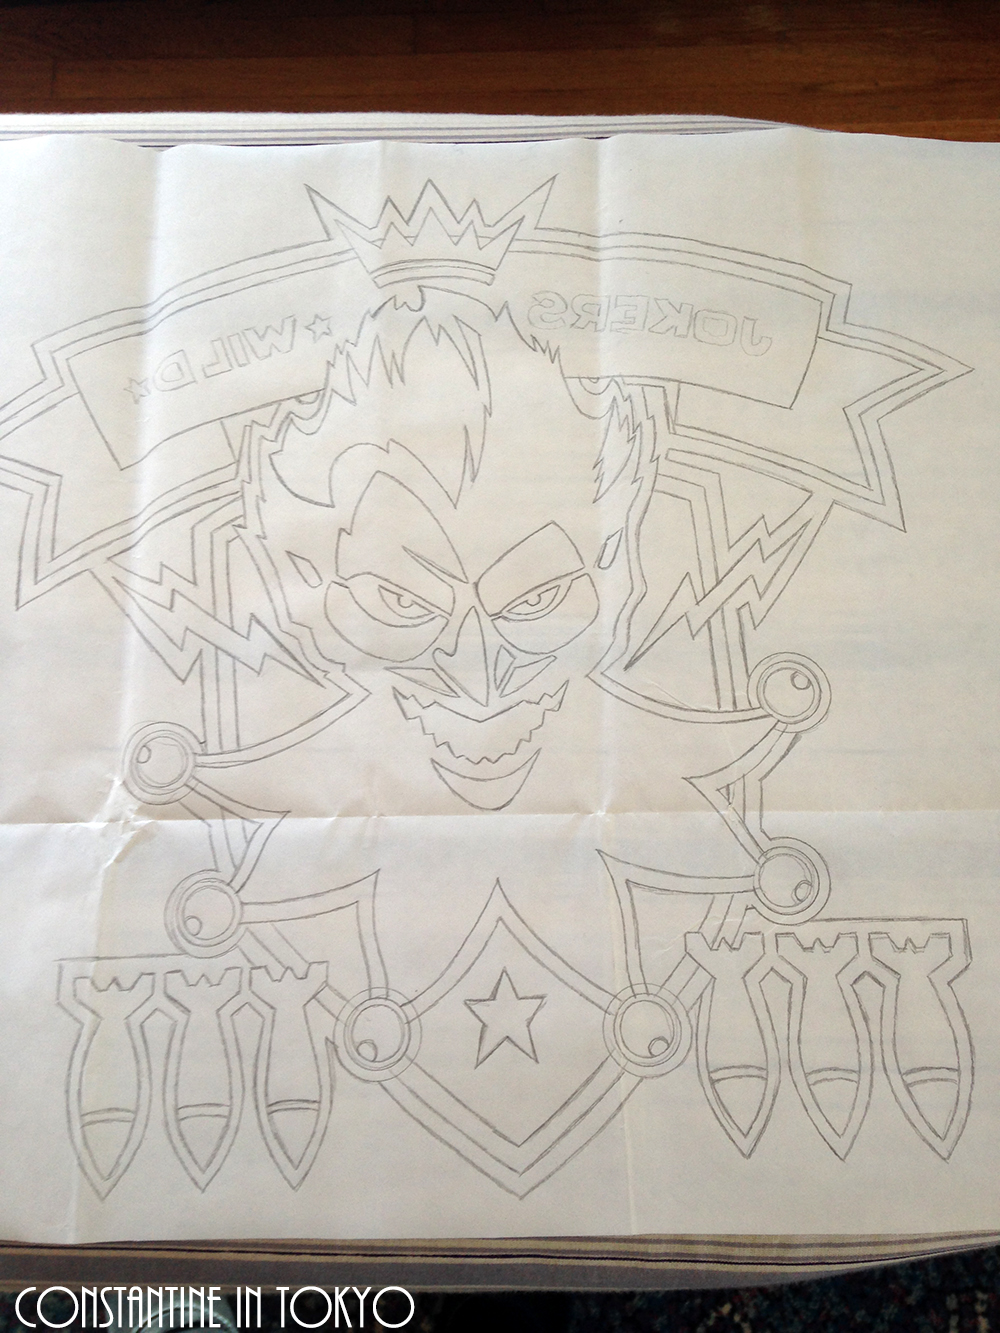
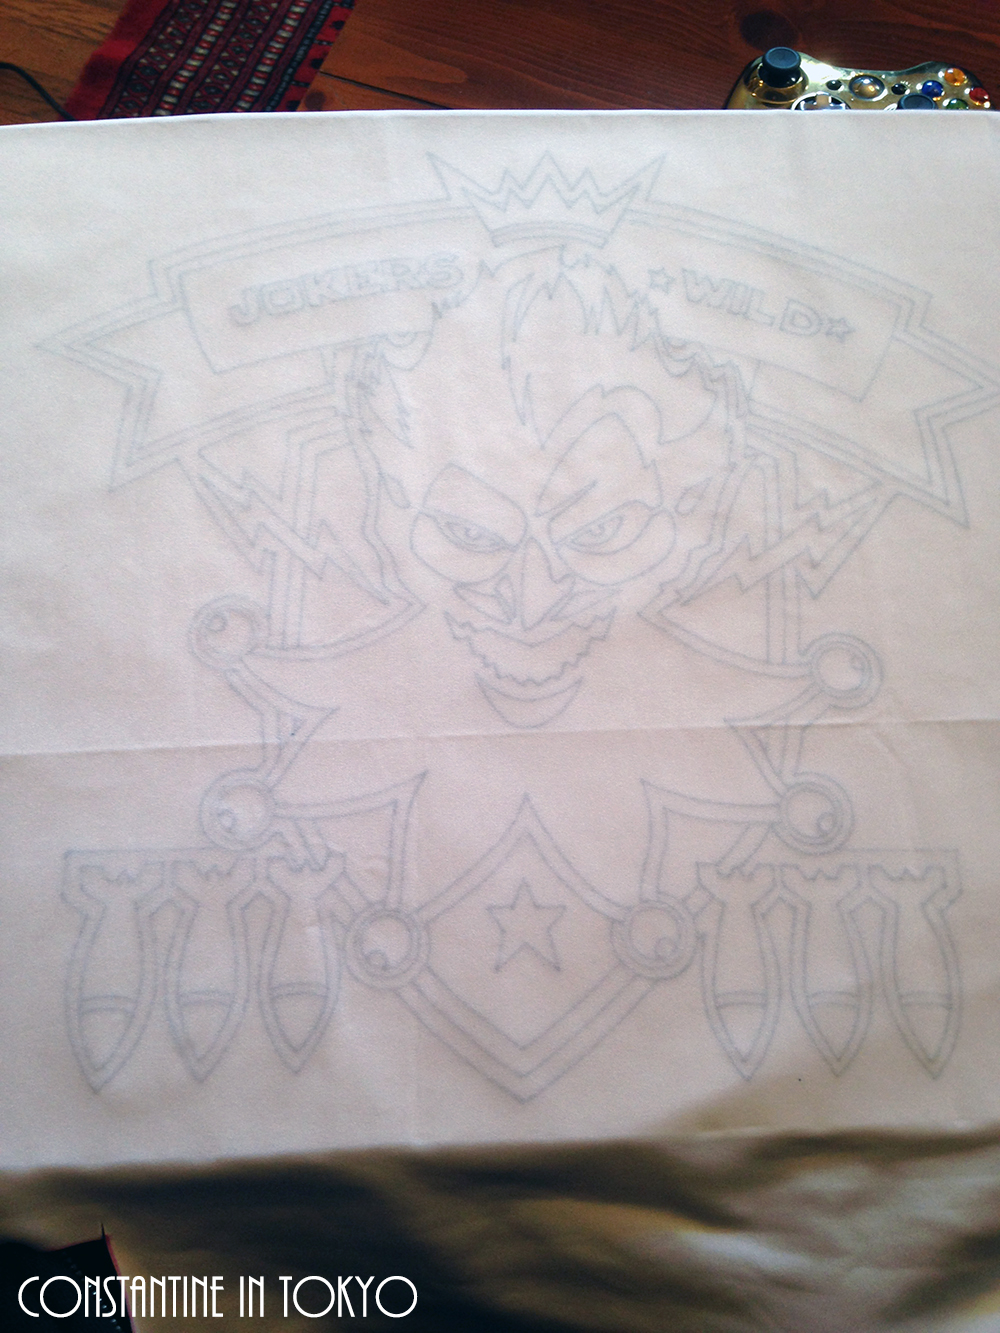
Step 3: Flip the paper over and RE-TRACE the lines onto the back side. THIS IS VERY IMPORTANT — when you transfer the design to the Wonder Under, it needs to be the MIRROR IMAGE.
CLICK TO ENLARGE
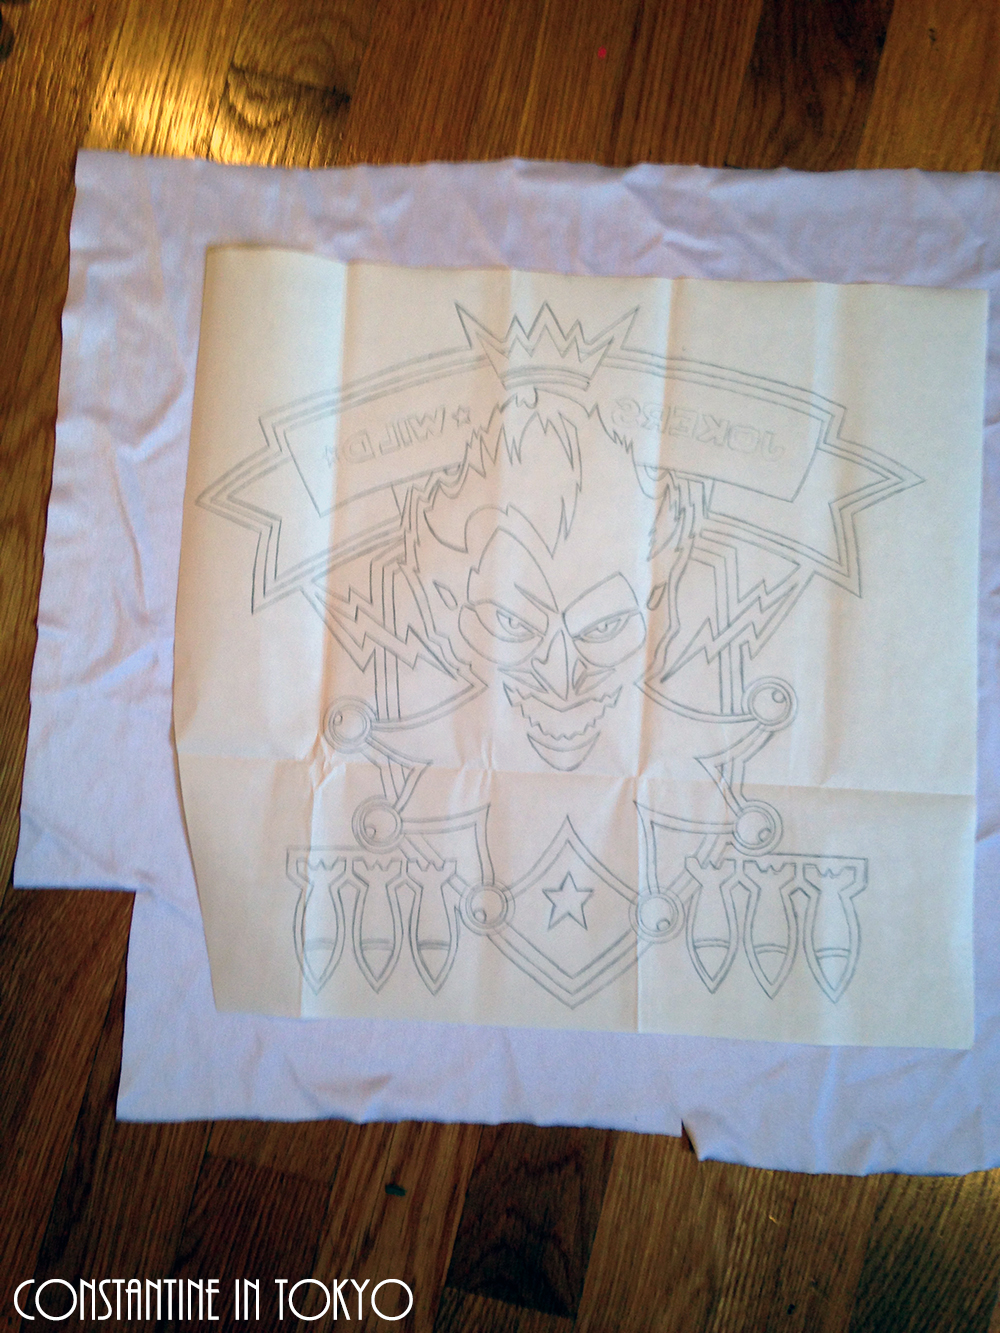
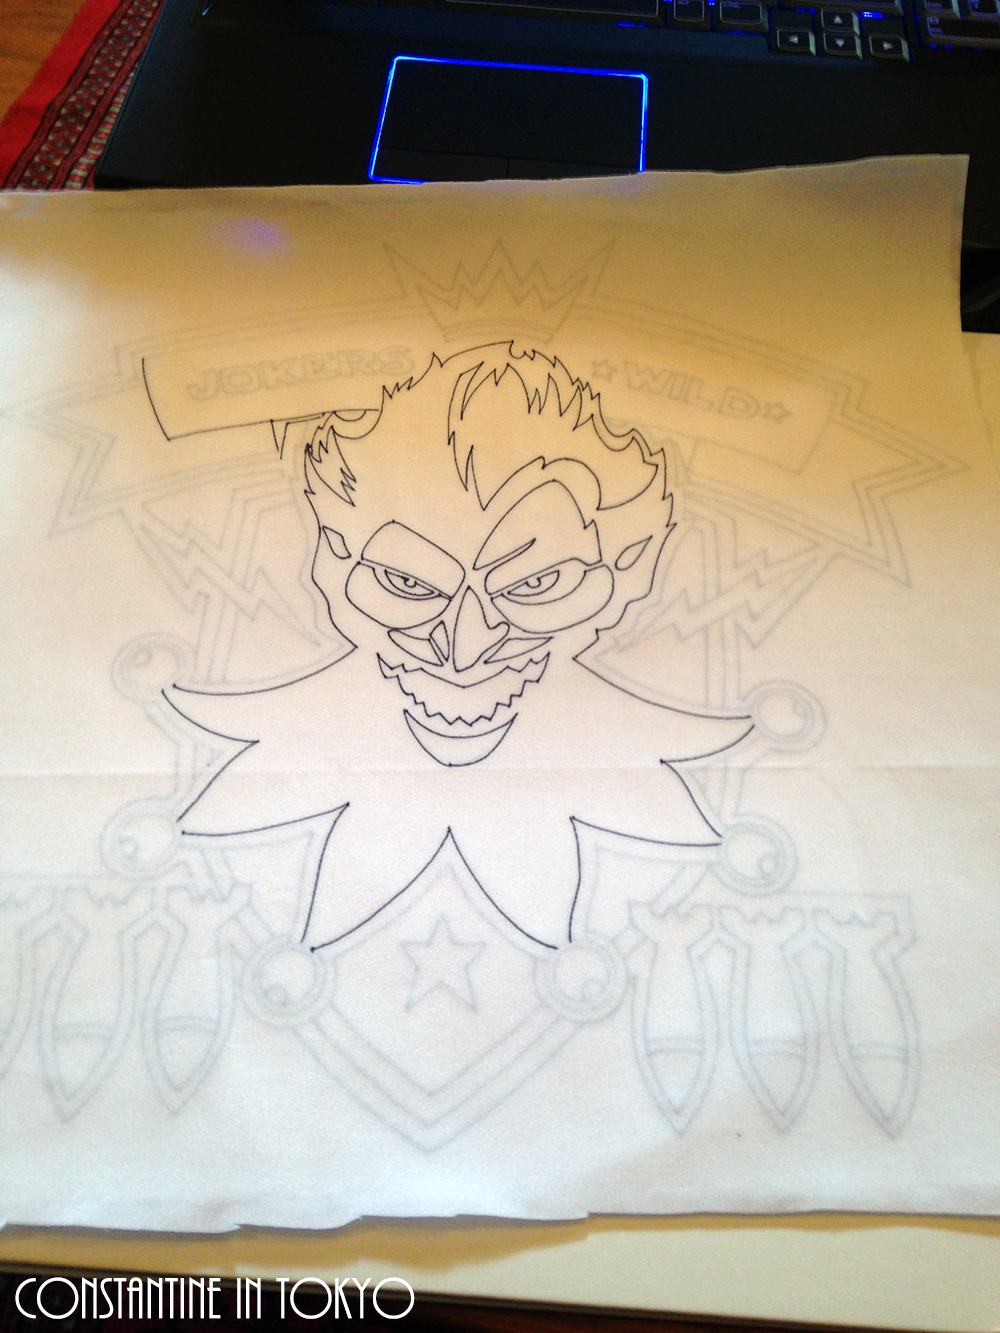
Step 4: Now, transfer the design (mirror image!) to the paper side of the Wonder Under. You can just trace the design by the laying the Wonder Under over the paper, duh. I do this in pencil so I can correct mistakes and keep things neat.
CLICK TO ENLARGE
Step 5: Cut out a piece of white spandex that is larger than the Wonder Under paper.
CLICK TO ENLARGE
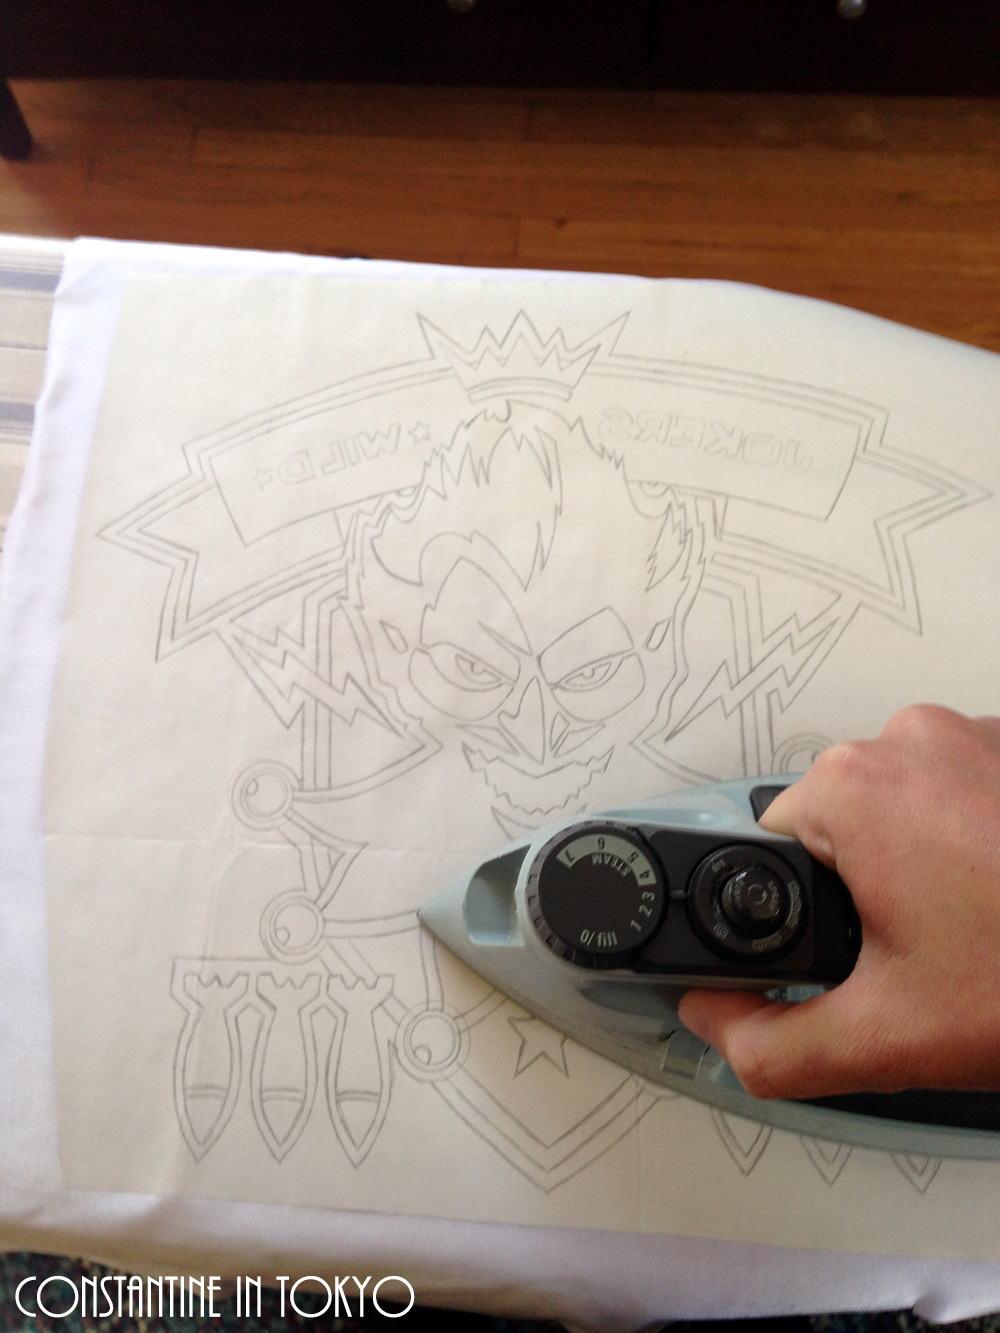
Step 6: Now, iron the Wonder Under onto the spandex. This will activate the adhesive and fuse the two pieces together. NOTE: Don’t let the adhesive touch your ironing board (only the spandex) or else you’ll fuse the Wonder Under to your ironing board and it’ll be sticky forever.
Step 7: With an ultra-fine tip black sharpie, darken the pencil lines on the Wonder Under paper. This will make the design easier to see.
CLICK TO ENLARGE
Step 8: Flip the whole thing over to the FABRIC side. As you can see, the design is easy to see through the fabric.
CLICK TO ENLARGE
Step 9: Now we can start transferring the designs onto the fabric with Sharpies. Yes, you are basically just coloring the fabric with markers – it is SUPER SIMPLE. I start with the line work, using an ultra-fine tip Sharpie for precision:
CLICK TO ENLARGE
Step 10: Then I add in the black.

CLICK TO ENLARGE
Step 11: Then I add in the color.

CLICK TO ENLARGE
Step 12: Here is the fully colored patch with the Sharpies I used.

CLICK TO ENLARGE
Step 13: Cut out the patch with scissors.

CLICK TO ENLARGE
Step 14: Now we are ready to iron the patch onto the back of the jacket. Peel the paper away from the fabric. As you can see, the adhesive is now fused to the fabric and the paper will easily peel away.

CLICK TO ENLARGE

CLICK TO ENLARGE

CLICK TO ENLARGE
NOTE: If you made/bought a jacket that is VINYL or FAKE LEATHER, you CANNOT place an iron directly onto that material. It will MELT away the ‘plastic’ part of the fabric… the part that makes it look like leather. You CAN place the iron on the PATCH. So just be careful and take your time ironing this onto the fabric.
Here is the back of my finished jacket. I kept a white border to help the design pop, but I might go back in with a black sharpie and make the border less thick. BOOM! You are finished.

CLICK TO ENLARGE
And there you go! If you have any questions or comments, please leave them below!!
XOXO,
C.
Re'Nell Glover
AMAZING!!!!!!!!
Lindsay
This is amazing! Thanks so much for posting such helpful tutorials. I love your work.
Re'Nell
So do I!
Sheri
Thanks for this! This is my halloween costume this year, and I was just wondering how I was going to get the design onto the jacket.
Rhiannon
The best way to iron that on the back of the jacket is to take a towel and place it over the logo while it’s against the jacket itself. This way it’ll prevent any damage. I had to do that to a uniform in high school to prevent any melting.
Brittanie
Does it wash normally? I would think sharpies would mess up in the wash? Does it need to be washed a certain way?
Emily
@Brittanie, depending what your jacket is made out of you probably won’t be able to wash it anyway. If you would need to clean something you would probably just be better spot cleaning. Just be careful with genuine leather and not to get it wet.
Emily
@Brittanie, depending what your jacket is made out of you probably won’t be able to wash it anyway. If you would need to clean something you would probably just be better spot cleaning. Just be careful with genuine leather and not to get it wet.
Teresa
This tutorial is INCREDIBLE. The art on the jacket was so daunting for me, but this actually seems doable, so I can’t wait to try it. I just want to know, what’s the benefit of using Sharpies over actual fabric markers?
Danny
I ironed the wonder under onto the spandex and it is not showing up when I flip it over after I traced the pencil with sharpie. Do you know what I should do?
Taryn Greenman
where did you get the picture of the joker bombshell patch? I can’t find it.
Jason
Im with Taryn.
Any chance you can upload the printable outline pictures/files? I am a terrible artist but I can color in the lines just fine. I’d be down to send you a few bucks for the file.
Toe Pain
Hammertoes have long plagued the human foot, causing pain and discomfort in shoes.
Our therapists will provide hands-on therapy to your plantar fascia and
calf muscles. The i – Pad 2S aka i – Pad HD aka i – Pad 3 is now known as just the i –
Pad.